
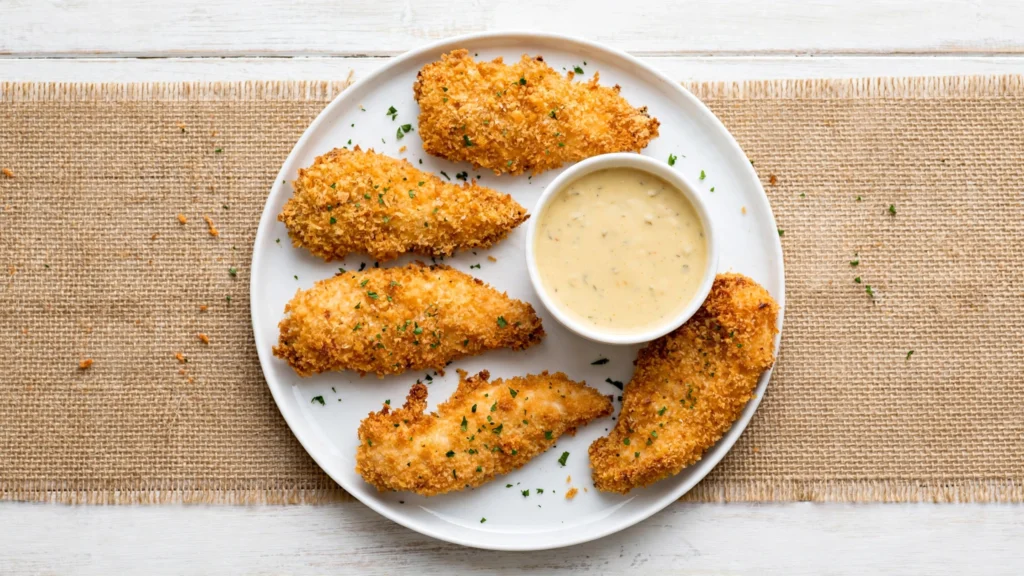

These oven-baked chicken tenders give you the crunch of fried chicken without a pot of hot oil. The chicken stays juicy on the inside while the outside turns deep golden and genuinely crispy — not the soft, pale coating you often get from baked “crumbed” chicken.
Why the Coating Actually Gets Crispy
The trick is simple: the panko breadcrumbs are toasted in the oven for a few minutes before they touch the chicken. Raw breadcrumbs need a long bake to brown, and by then the chicken inside would be overcooked and dry. Pre-toasting solves that — the crumbs are already golden, so the 15–18 minute bake that follows is just enough to cook the chicken through and set the crust.
One Batter Instead of Three Bowls
Instead of the usual flour-then-egg-then-crumb setup, this recipe whisks the egg together with mayonnaise, mustard, flour, salt, and pepper into one thick batter. This does two jobs at once:
- Mayonnaise adds fat and moisture, helping keep the chicken tender and giving the crumb something to cling to.
- Mustard adds a light tang that cuts through the richness of the coating.
- Flour and egg together thicken the batter so it coats the chicken evenly and acts like glue for the panko.
Dipping the chicken in this one batter, then pressing it into the toasted panko, is faster than a three-step dredge and coats more evenly.
Ingredients and Ratios at a Glance
For 600 g of chicken, this recipe uses about 90 g of panko (roughly 15% of the chicken’s weight). That’s enough panko to fully coat each piece of chicken used in this recipe without building up an overly thick crust. Panko’s larger, coarser flakes tend to crisp up more than fine dried breadcrumbs. The batter (flour, egg, mayo, mustard) is intentionally light — just enough to bind the crumbs on, not a heavy pancake-style layer.
Getting an Even Bake
Using a wire rack set inside the baking tray (rather than laying the chicken flat on the tray) lets hot air move underneath the chicken, so both sides crisp up. If you don’t have a rack, a lightly oiled tray works too — the bottom just won’t be quite as crisp as the top.
Timing, Start to Finish
Two things happen in the oven: the panko toasts for 3–4 minutes first, and then the crumbed chicken bakes for 15–18 minutes, so total oven time is about 18–22 minutes. Hands-on prep — mixing the batter and coating 600 g of chicken piece by piece — typically takes 15–20 minutes, a little longer if it’s your first time. All told, plan for about 35–44 minutes from start to plate.
Knowing When It’s Safely Done
The most reliable way to verify that chicken is fully cooked is to check its internal temperature with a food thermometer — it should read 74°C/165°F in the thickest part. Color and juices aren’t safe indicators on their own: chicken can look fully cooked well before it’s actually reached a safe temperature, and can also stay slightly pink near the surface once it’s safely cooked through. A deep golden crust is a good sign the coating is ready, but always confirm the chicken itself with a thermometer before serving.
Serving
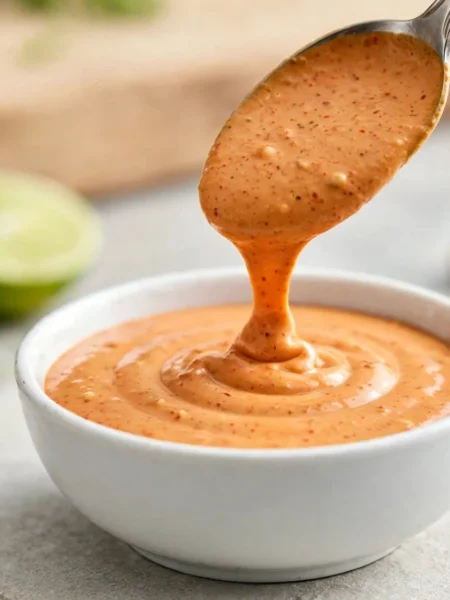
Serve immediately while the coating is still crisp, with a dipping sauce such as honey mustard or ranch. They work as a quick weeknight dinner with a side salad, or cut smaller as party finger food.
Crispy Oven-Baked Chicken Tenders
Description
Golden, genuinely crunchy chicken tenders baked (not fried), coated in a mustard-mayo batter and pre-toasted panko for maximum crunch. Ready in about 35–44 minutes, with juicy chicken inside a crisp, golden shell — perfect for a quick dinner or party appetizer.
Ingredients
Instructions
-
Preheat the oven to 200°C/400°F. Set a wire rack on a foil-lined baking tray (or lightly oil a tray if you don't have a rack).
-
Toast the panko. Spread the breadcrumbs on a tray, spray lightly with oil, and bake for 3–4 minutes, stirring once, until light golden. Tip into a shallow bowl. (This uses the oven too — it's part of the total cooking time.)
-
Mix the batter. In a bowl, whisk together the egg, mayonnaise, mustard, flour, salt, and pepper until smooth and thick.
-
Coat the chicken in batter. Add the chicken to the batter and turn each piece to coat it fully.
-
Press into the crumbs. Using tongs, lift one piece of chicken from the batter and place it in the toasted panko. Sprinkle crumbs on top and press gently so they stick on both sides. Place on the rack. Repeat with the rest — this is the slowest step, so take your time.
-
Bake. Lightly spray the tops with oil. Bake for 15–18 minutes, until the coating is deep golden. Check the internal temperature with a food thermometer in the thickest piece — it must read 74°C/165°F before serving. Don't rely on juice color or how pink the meat looks; only a thermometer confirms it's safe.
-
Rest, then serve. Let the chicken rest for 2 minutes, then serve hot with your dipping sauce and a sprinkle of parsley, if using.
Nutrition Facts
Servings 4
- Amount Per Serving
- Calories 325kcal
- % Daily Value *
- Total Fat 10g16%
- Saturated Fat 2g10%
- Cholesterol 140mg47%
- Sodium 575mg24%
- Potassium 340mg10%
- Total Carbohydrate 16g6%
- Dietary Fiber 1g4%
- Sugars 1g
- Protein 40g80%
* Percent Daily Values are based on a 2,000 calorie diet. Your daily value may be higher or lower depending on your calorie needs.
Note
Storage: Keep leftovers in an airtight container in the fridge for up to 3 days.
Freezing: Freeze cooked, cooled tenders in a single layer, then move to a freezer bag for up to 2 months. Freezing them raw (battered/crumbed but unbaked) isn't recommended — the coating turns soggy once thawed.
Reheating: Reheat in the oven at 180°C/350°F for 8–10 minutes, until hot and crisp and the center reaches 74°C/165°F on a food thermometer. Avoid the microwave, as it softens the crust.
Pro Tips:
- Don't skip toasting the panko — it's the main reason the coating turns crunchy instead of pale and soft.
- Use tongs the whole time you're crumbing the chicken to keep your fingers clean and the coating even.
- A wire rack helps both sides crisp up; a flat tray will still work, just slightly less crisp underneath.
- Always confirm doneness with a food thermometer (74°C/165°F) rather than judging by color or juices.
Common Mistakes:
- Baking too long: tenderloins are thin and can dry out quickly past 18–20 minutes.
- Skipping the oil spray on the finished coating, which leaves it looking pale instead of golden.
- Judging doneness by cutting into the chicken and checking color instead of using a thermometer.