
There’s a specific kind of satisfaction that comes from biting through a shatter-crisp coating into a sweet, tender ring of onion still holding its shape underneath — and that’s exactly what this recipe delivers. These onion rings use a short buttermilk soak to mellow the onion’s sharpness and create a tacky surface for the coating to grip, a seasoned flour dredge, and a panko breadcrumb coating that fries up into an audibly crunchy, deep golden shell. The result is a side dish or appetizer that’s substantial enough to be the star of the plate rather than an afterthought.
This is a beginner-friendly recipe, but it does require some attention: getting the oil temperature right and frying in batches are the two things that separate great onion rings from greasy, soggy ones. Once you’ve done it once, the process becomes intuitive.
Why This Recipe Works
- The buttermilk soak mellows the onion’s bite and gives the flour dredge a surface to cling to evenly.
- A three-stage coating (flour, egg-buttermilk wash, panko) builds a thick, craggy crust that stays crisp longer than a single-dip breading.
- Panko’s larger, airier flakes fry up especially crisp and create a craggy, substantial coating.
- Frying at a controlled 175°C (350°F) cooks the onion through without over-browning or under-crisping the crust.
Best Onions to Use
Yellow onions are the standard choice here — they turn sweet and mellow once cooked, and their layers are sturdy enough to hold together through three rounds of coating. Sweet onion varieties (like Vidalia) work well too if you want an even milder, sweeter result; white onions are sharper and less ideal for this application.
Serving Suggestions
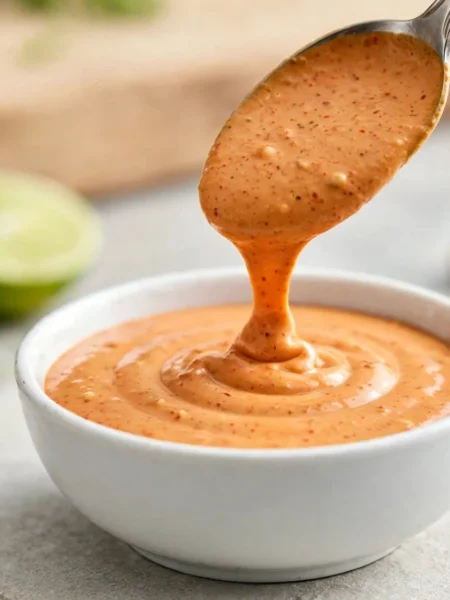
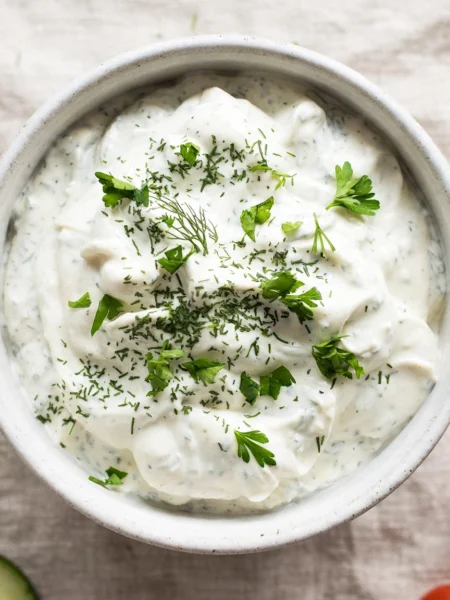
These are best served immediately, straight out of the oil, with a dipping sauce on the side — ranch, spicy mayo, or a tangy barbecue sauce all pair well. They make a strong side for burgers or steak, or a shareable appetizer on their own.
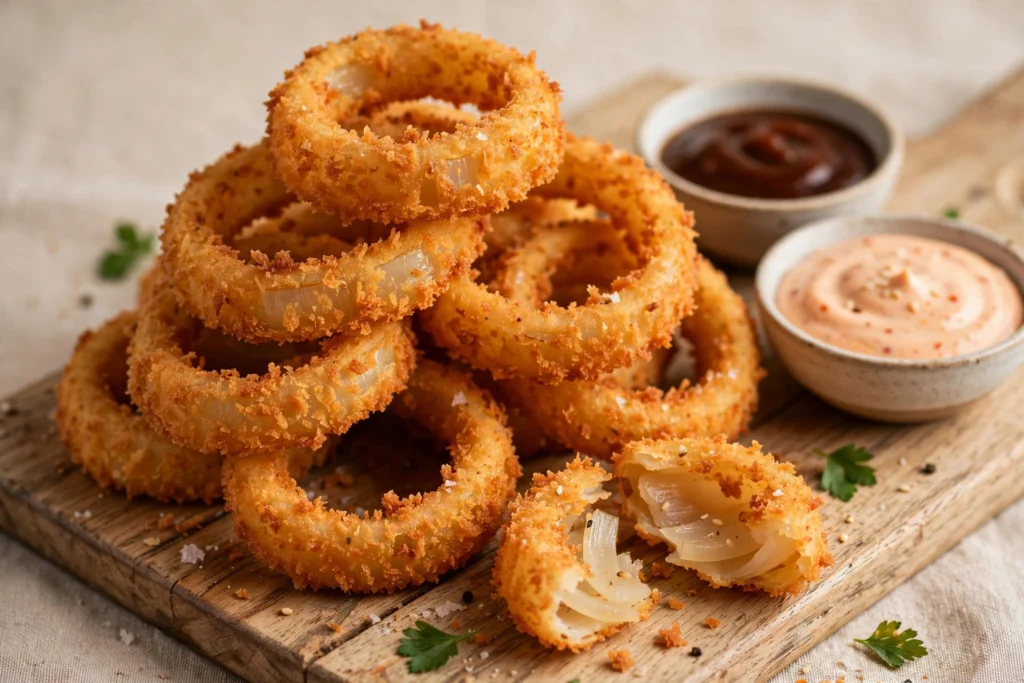

The Ultimate Crispy Onion Rings
Description
Thick-cut yellow onions get a buttermilk soak, a seasoned flour dredge, and a crunchy panko coating before hitting hot oil. The result: golden, audibly crisp onion rings with a tender, sweet center — ready in about 1 hour (55–70 minutes), depending on frying time and oil recovery between batches.
Ingredients
Instructions
-
Soak the onions. Separate the onion rings and place them in a bowl. Pour 250 ml (1 cup) of the buttermilk over them, making sure most rings are submerged. Let soak for 15 minutes at room temperature — this mellows the onion's sharpness and helps the coating adhere.
-
Set up the dredging station. While the onions soak, set out three shallow bowls. In the first, combine the 120 g (1 cup) flour with the paprika, garlic powder, cayenne, 1 teaspoon of the salt, and the black pepper; whisk to combine. In the second bowl, whisk the eggs with the remaining 125 ml (½ cup) buttermilk until smooth — no flour goes in this bowl, so it stays a genuinely thin, pourable wash. Place the panko in the third bowl.
-
Heat the oil. Pour oil into a heavy pot or Dutch oven to reach a depth of about 5 cm (2 inches) — the exact volume needed depends on your pot's diameter, so you may not use the full 1 liter (a wider pot needs more; a narrower one needs less). Heat over medium heat until it reaches 175°C (350°F) on a deep-fry or instant-read thermometer. Maintain this temperature throughout frying, adjusting the burner as needed.
-
Coat the onion rings. Remove a ring from the buttermilk soak, letting excess drip off. Dip it in the seasoned flour, shaking off any excess, then into the egg-buttermilk wash, then press firmly into the panko to coat both sides. Set on a tray and repeat with the remaining rings.
-
Fry in batches. With roughly 30–35 rings total, you'll need about 5 batches of 6–7 rings each so the oil temperature doesn't drop. Carefully lower the coated rings into the hot oil and fry for 2 to 3 minutes per side, turning once, until the coating is deep golden brown and crisp — this is your visual doneness cue; the panko should look uniformly toasted with no pale patches. Between batches, let the oil return to 175°C (350°F) before adding the next round; this takes roughly 1–2 minutes. Across 5 batches, expect roughly 25–40 minutes of frying and oil-recovery time combined, depending on ring size, exact frying time, and how quickly the oil recovers. The underlying calculation spans 24–38 minutes (5 batches × 4–6 minutes frying, plus 4 recovery gaps × 1–2 minutes), so 25–40 minutes is a practical rounded range rather than a strict mathematical bound. Avoid overcrowding, which lowers the oil temperature and leads to greasy, soggy rings.
-
Drain and season. Use a slotted spoon or spider strainer to transfer the fried rings to a wire rack set over a paper-towel-lined tray (a wire rack keeps the bottoms from steaming and going soft). Sprinkle immediately with the remaining ½ teaspoon salt while still hot.
-
Serve immediately. Onion rings are best enjoyed within a few minutes of frying, while the coating is at its crispest. Serve with your dipping sauce of choice.
Nutrition Facts
Servings 4
- Amount Per Serving
- Calories 326kcal
- % Daily Value *
- Total Fat 18g28%
- Saturated Fat 2g10%
- Cholesterol 56mg19%
- Sodium 680mg29%
- Total Carbohydrate 34g12%
- Dietary Fiber 2g8%
- Sugars 4g
- Protein 7g15%
* Percent Daily Values are based on a 2,000 calorie diet. Your daily value may be higher or lower depending on your calorie needs.
Note
Storage: Store leftover onion rings in an airtight container lined with paper towels in the refrigerator for up to 2 days. They will soften as they sit.
Freezing: Not recommended after frying — the breading turns soggy on thawing. If you want to prep ahead, coat the rings and freeze them in a single layer on a tray until solid, then transfer to a freezer bag for up to 1 month. Fry directly from frozen in small batches, letting the oil return to 175°C (350°F) between batches — frozen, egg-coated rings can cause more oil splatter than fresh ones, so lower them in carefully and don't leave the pot unattended. Frying time will run longer than the fresh version and varies with ring thickness and coating; fry until the coating is deep golden, crisp, and fully set, rather than pulling rings at the first sign of color. Because the coating contains raw egg, USDA guidance considers egg-containing mixtures safe at 71°C (160°F) — this coating is too thin to check reliably with a thermometer, so that figure is background safety information rather than something this recipe's visual cue can confirm; if verifying the temperature directly matters to you, use pasteurized eggs, or fry a test batch longer than you think necessary and check by cutting one open.
Reheating: Reheat in an oven or air fryer at 200°C (400°F) for 6–8 minutes to re-crisp. Avoid the microwave, which makes the coating chewy rather than crisp.
Pro Tips:
- Keep the oil temperature steady with a thermometer — this matters more than any other single step for crisp results.
- Press the panko onto the rings firmly so it doesn't fall off in the oil.
- Slice onions no thinner than 1 cm (⅜ inch) or the rings will be too fragile to hold their coating.
- Season immediately after frying, while the salt will still stick to the hot surface.
Common Mistakes: Overcrowding the pot drops the oil temperature and results in greasy, pale rings. Skipping the buttermilk soak makes the coating adhere less evenly. Draining on paper towels alone (instead of a wire rack) can trap steam and soften the bottoms.